A local customer contacted me about painting some chairs for her. She bought a new dining room set at a local consignment shop and had the vision for them to be refinished.
So, I went to pick them up at her house, and she has fabulous taste! Black is her color, and it looks so classy and sophisticated in her home. She also really likes color, so it's a great mix of bright colors and grounding black.
Let's talk about something for a second...do you not love honey color wood and black?!? Here is where the chair started...
This is a great color wood to paint black and then distress. It's magical.
See the carvings on the chairs, they just pop now against the black. She is keeping the table top wood, and it's going to be fabulous!
Here are the other chairs and their new coordinating fabric.
Then there were these similar but a little different chairs, these went solid black with matching fabric.
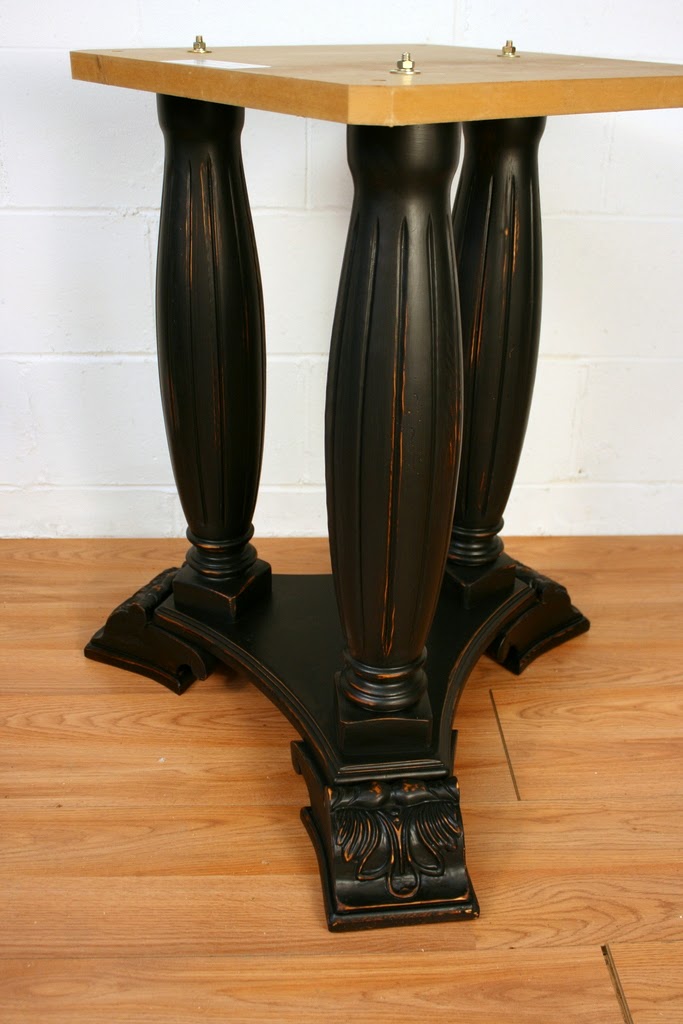
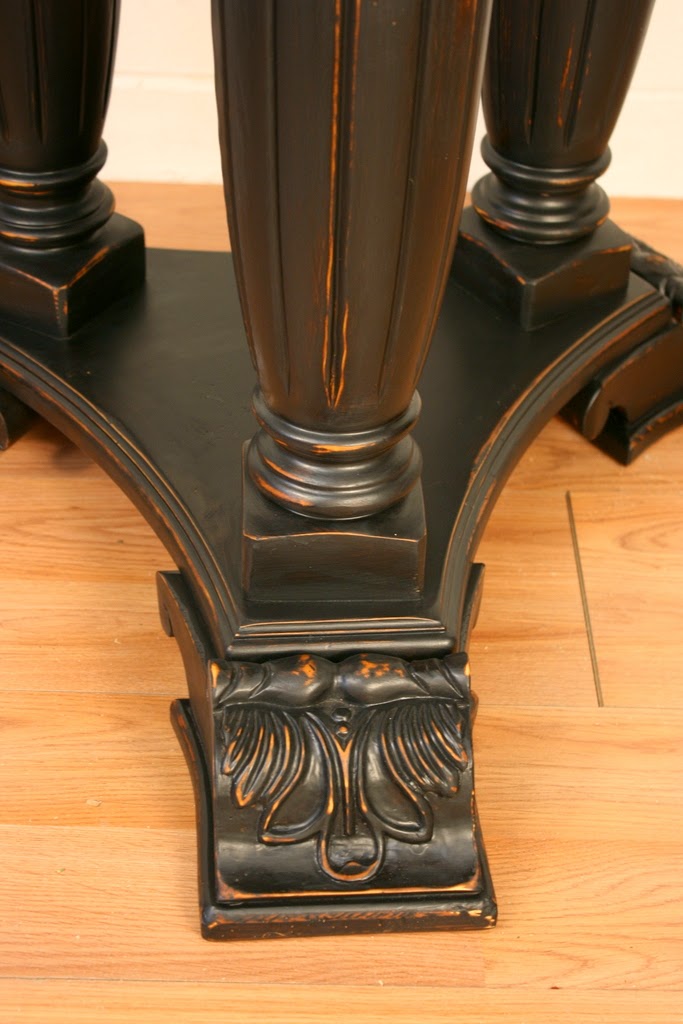
And here are the pedestals for the table.
As I was painting all these chairs, I was thinking about the process...as in, how to make this process go a little faster. Here is my trick...
Start with the chair upside down/on it's back.
Step 1: Paint the underside. These are all the spots you will miss if you just start painting the chair upright. See, I did a little of the back, and the underside of the legs.
Step 2: Set the chair back up and paint the front side.
Step 3: Paint the left side. Watch your corners for drips.
Step 4: Bottom front. Also get any spots you are missing on the insides here.
Step 5: Right side...almost done!!
Step 6: The back. Now let dry and repeat.
Maybe that was a "duh" tutorial for you, but I found if I did each chair this way, it went much faster, I was able to catch spots I missed, and watch for drips all in one shot. Phew!
One last reminder...
BAM! Hope my client likes these as much as I do!
Blessings,
Jenni


Looks fabulous!
ReplyDelete